How to add a Promo Discount?
Just creating tickets is not enough, as users expect promo discounts too. With Eventify, you can create promo discount codes for the users. In order to create and manage discounts,
Go to User Management >>Tickets >> Promo Discount
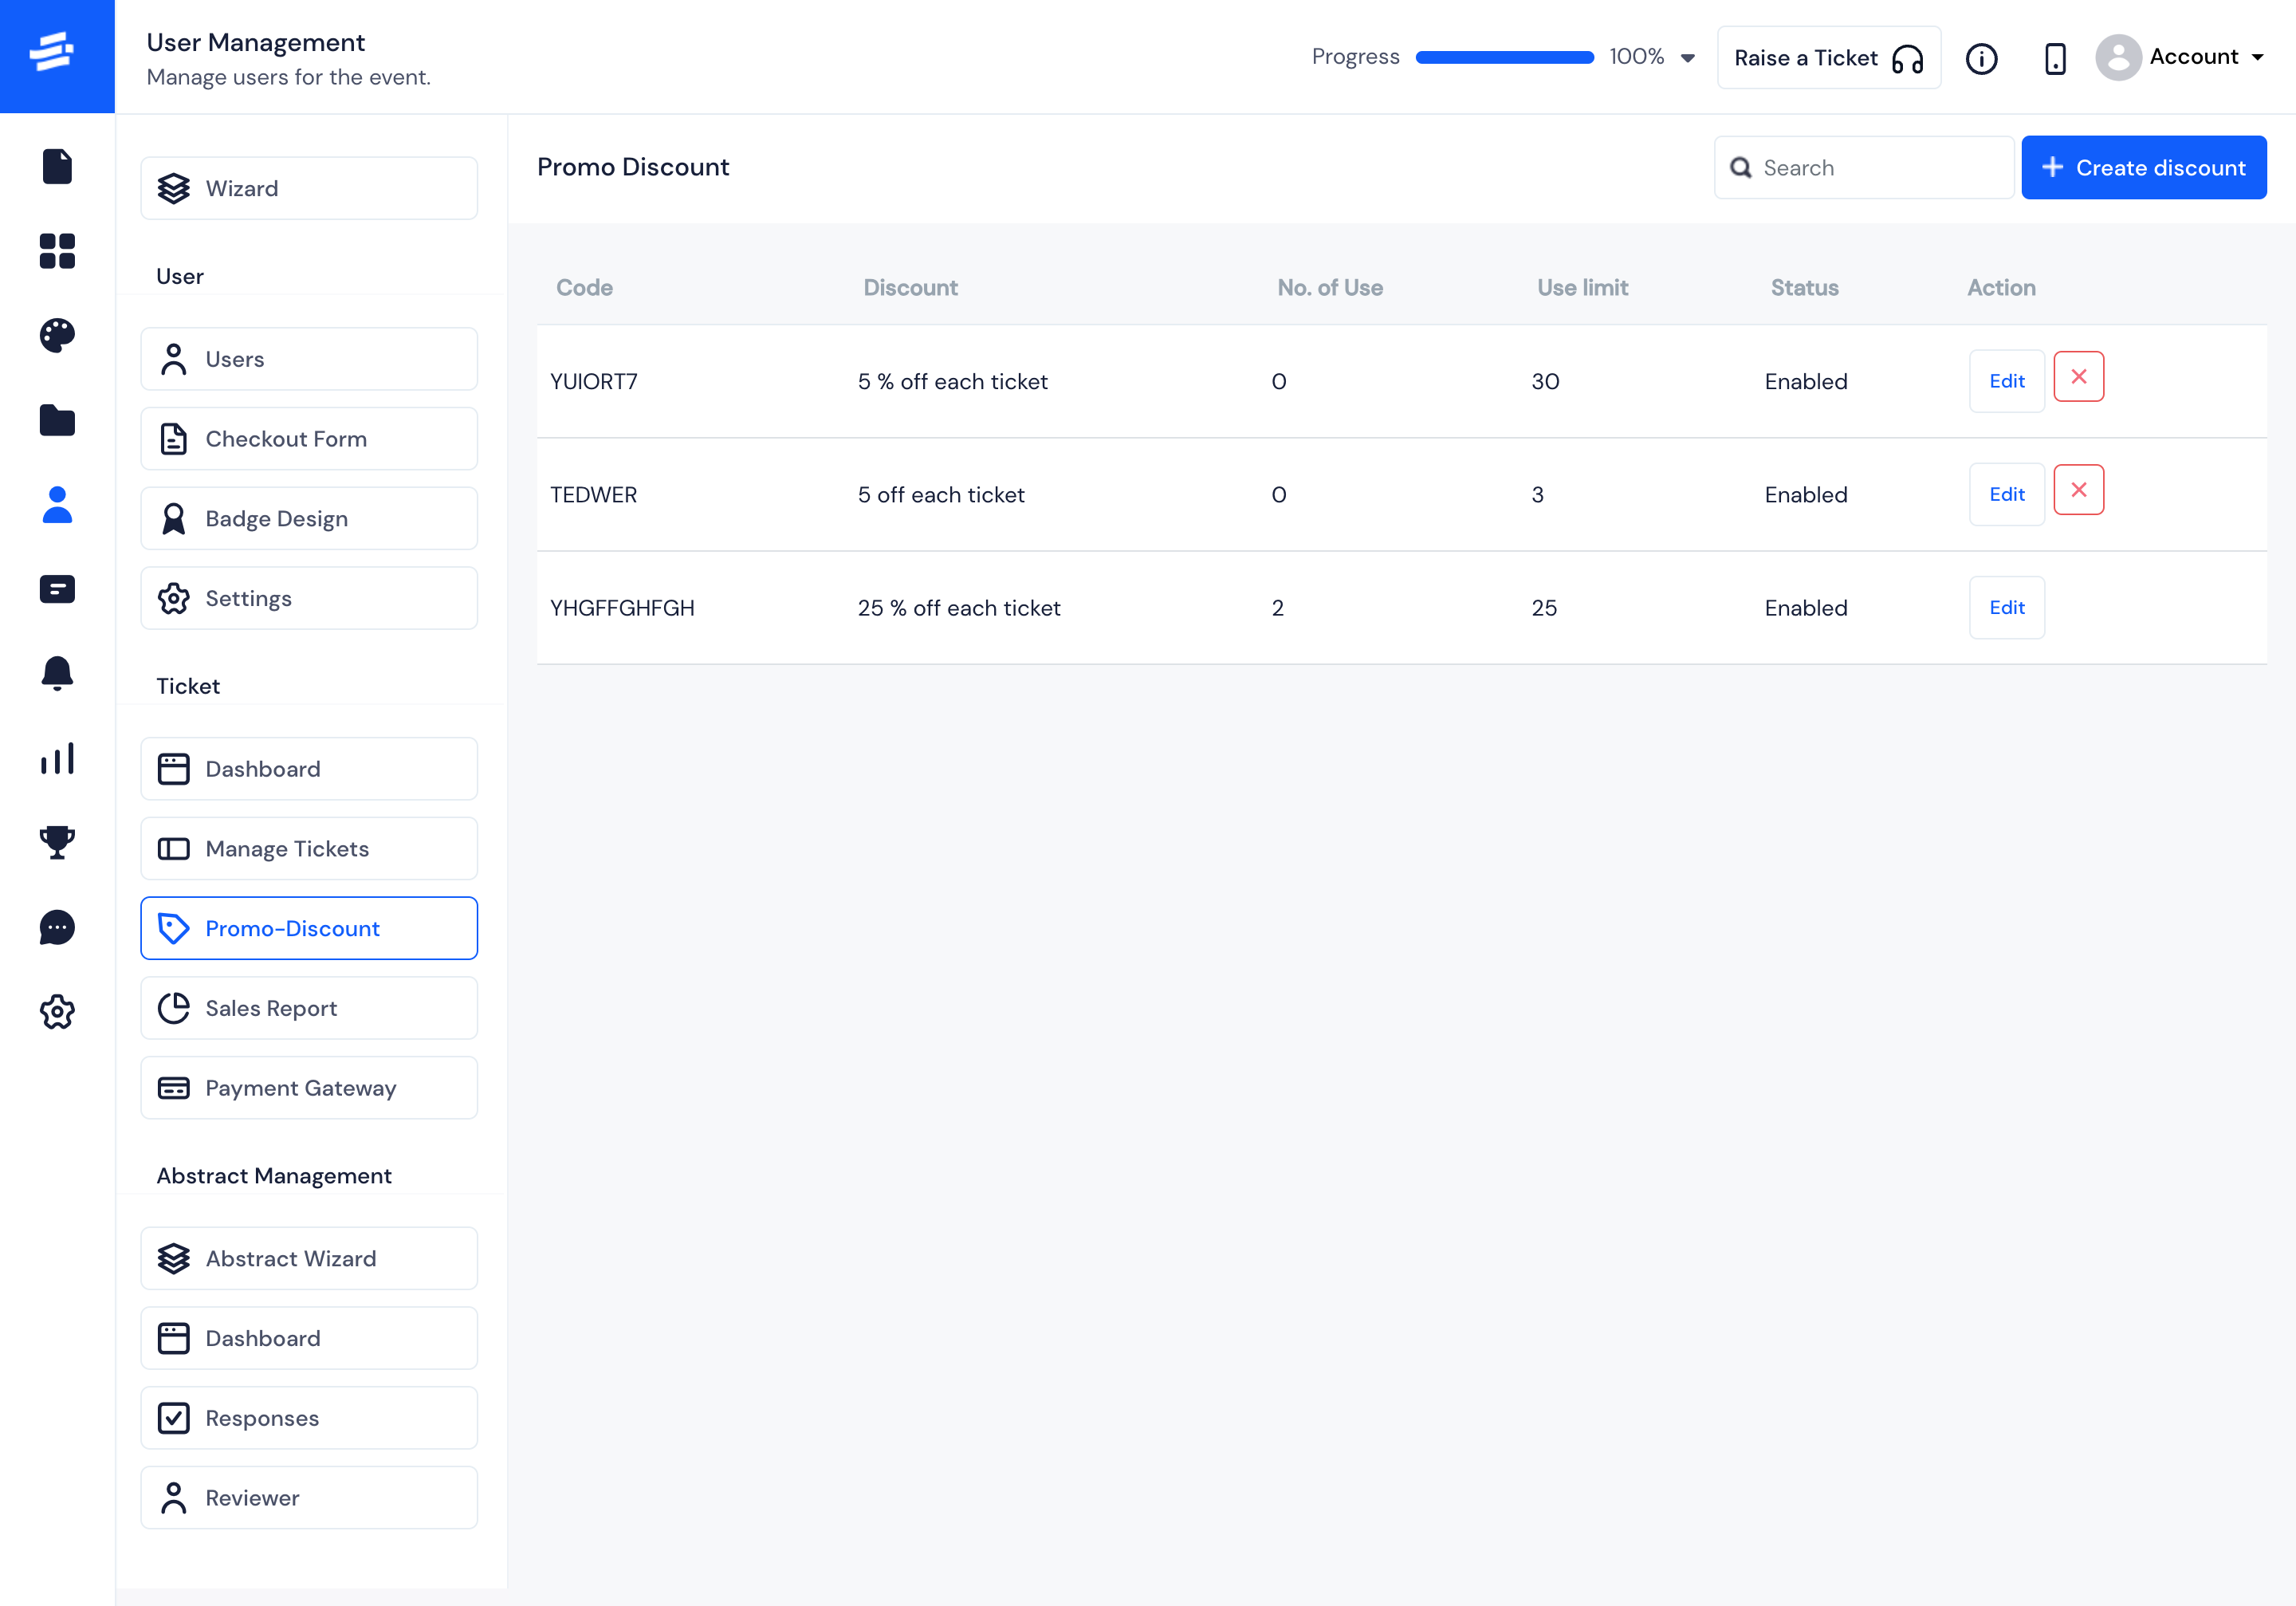
Step 1: Click on Create discount button at the top right of the Page.
Step 2: Enter all the required fields as follows:
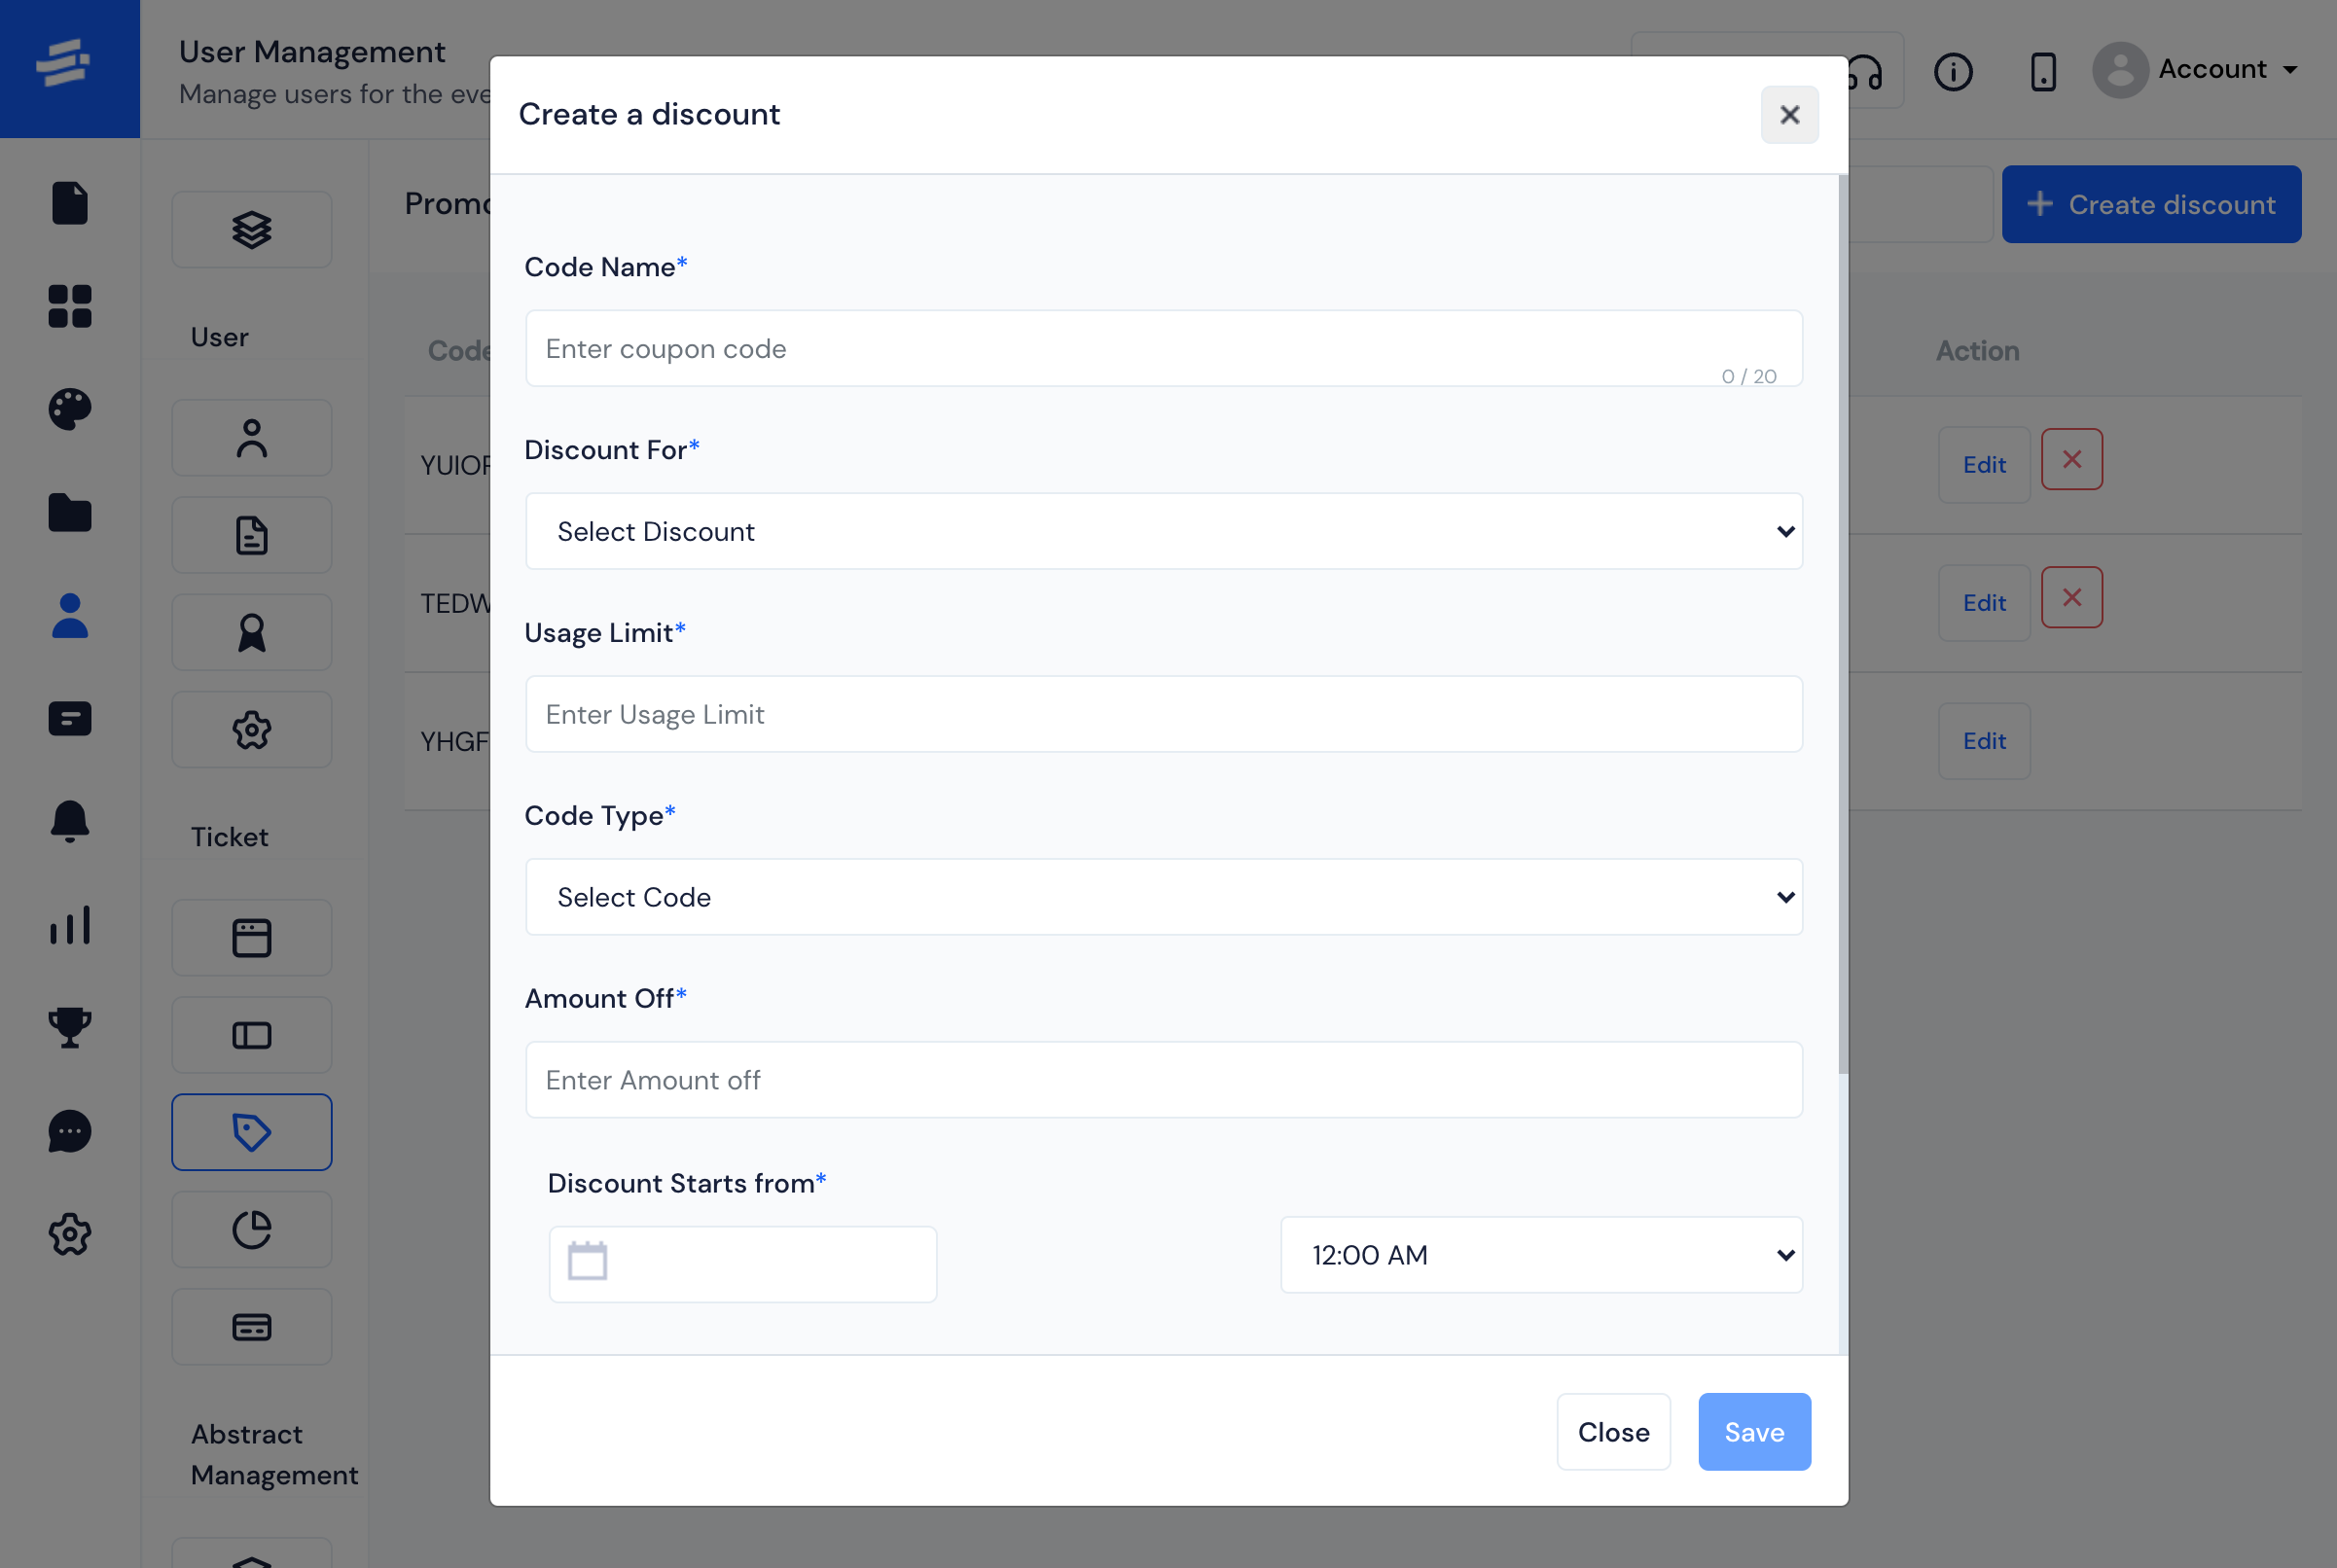
- Code Name : Enter the code here which users will input for applying the discount.
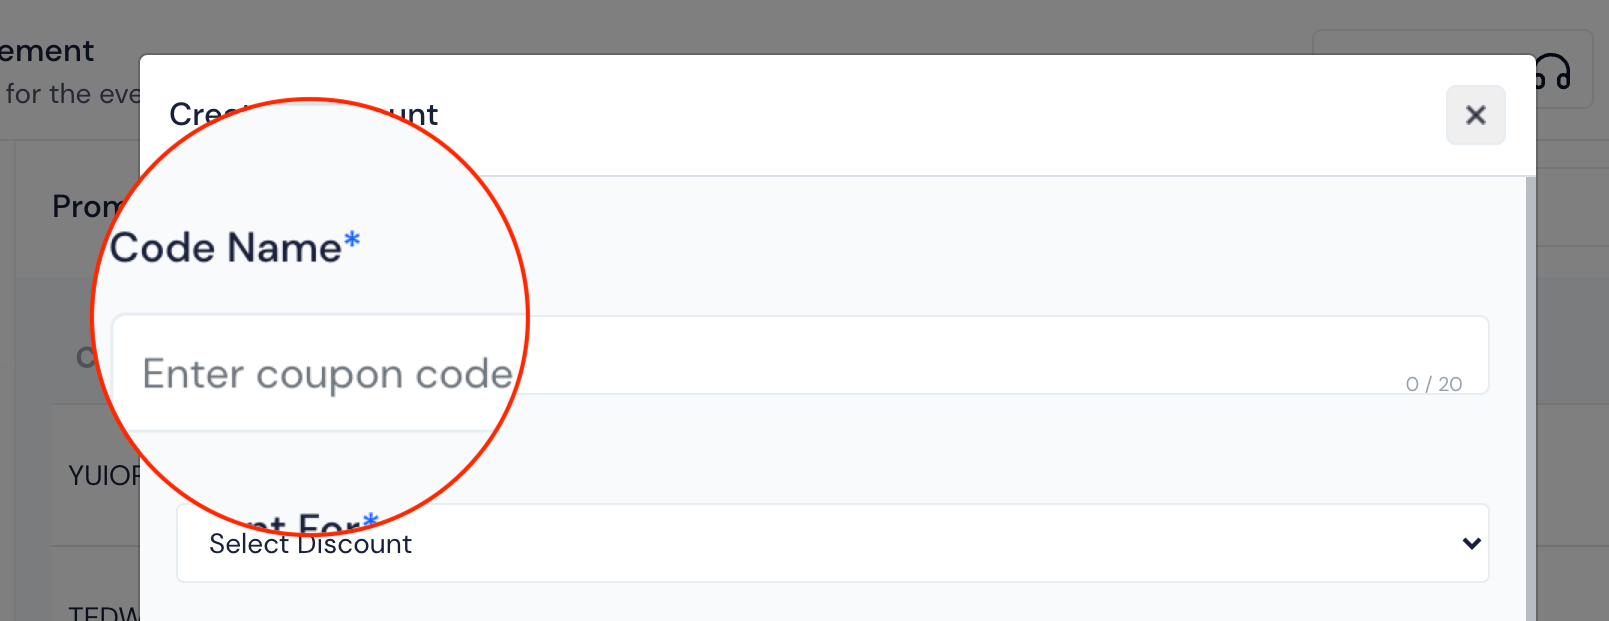
- Discount For : This field defines where the code will be applicable. You can either choose the Ticket for which you want to provide a discount from the drop down menu or select 'All' option for generic discount code (applicable for all tickets).

- Usage Limit : Usage limit is the number of times the discount code can be used.

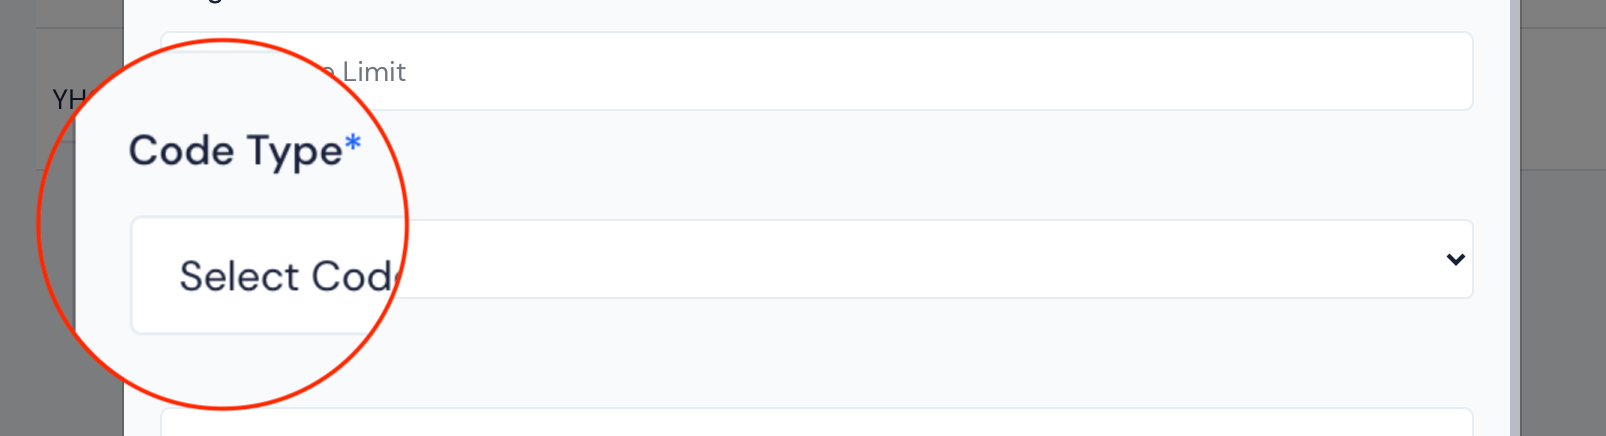
- Code Type : Select the discount type ($ or %). It can be either in percentage (calculated on order total) or a fixed amount.
- Amount Off : Define the amount of discount you want to provdide for this promo. If you had selected Code Type percentage, then the number you mention in Amount off will be n% and if Code Type was amount, then the number entered here will be the flat amount to be deducted from the order value.
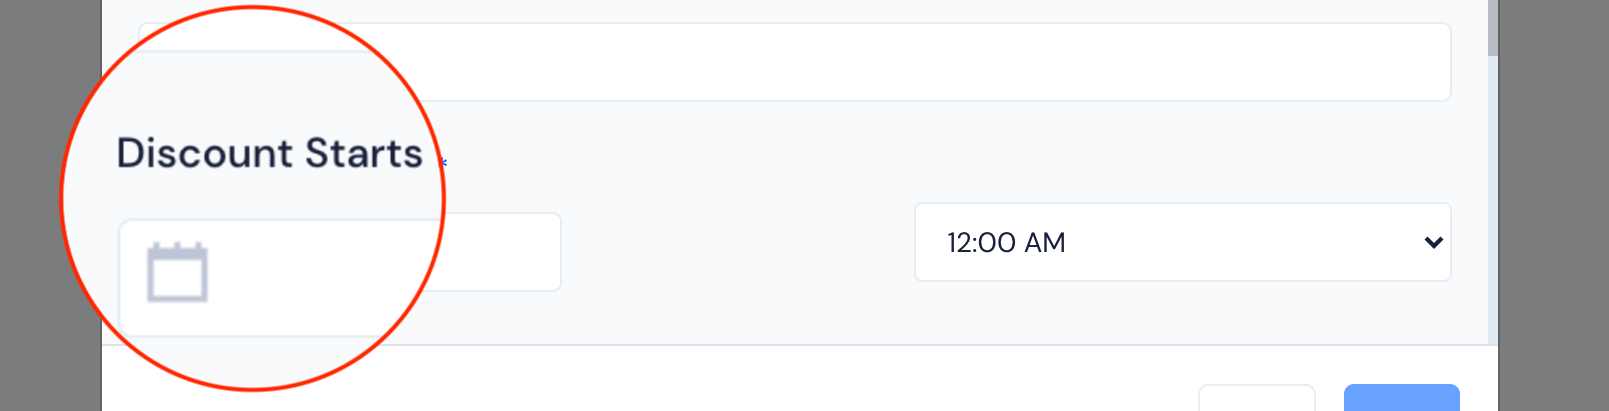
- Discount Starts from : This defines the active start date and time of the promo code. For eg: If you want a promo code to be available on New Year's eve, you can define the start time from 12/31/2023 04:00 PM. Hence, if the promo code is used before this time, it will not be validated.
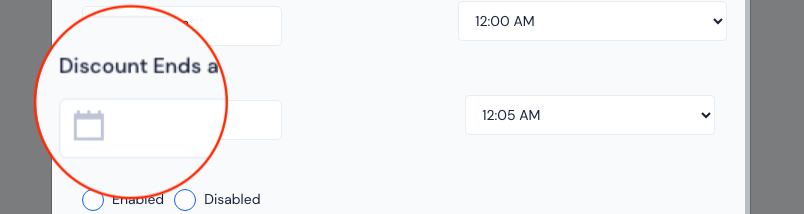
- Discount Ends at : This defines the active End date and time of the promo code. For eg: If you want a promo code to be inactive on 2nd January, you can define the End time from 01/02/2024 12:00 AM. Hence, if the promo code is used after this time, it will not be validated.
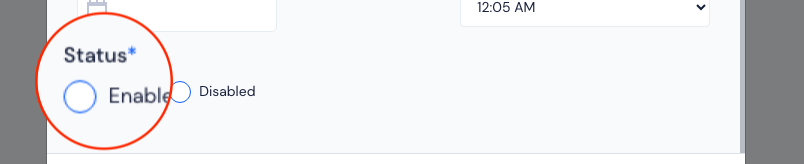
- Status : It is the active/inactive status of the promo. Even if a promo is in it's active duration, you can temporarily make it inactive using status disabled.
Note: Codes in Enabled status is only applicable in their active duration as set in Discount start and end date/time.
Step 4: Once you are done, click on the ‘Save’ button to save the new Promo Discount.

- In case you change your mind, Click on the ‘Close’ button to exit the Create a discount popup without saving.